Technical solutions, which are used in GT Chip, make positioning quick and easy. Our manual describes the whole procedure in the smallest details. Moreover, we filmed video, which also will help you to provide this manipulation properly. It is available on this website both for online watching and downloading.

Turn off the ignition

Wire GT Chip, considering instructions in the manual.

Obtain additional performance up to 30% and improve drivability
GT Chip mounting
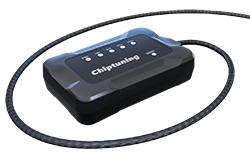
- GT Chip unit
- Booklet with instructions for proper installation
- Zip ties
- Scotch-locks for wires connection
GT Chip Stage 1 mounting
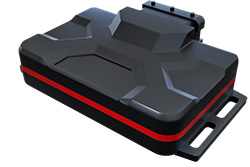
- GT Chip unit
- Booklet with instructions for proper installation
- Zip ties
- Scotch-locks for wires connection
GT Chip Stage 2 mounting

- GT Chip unit
- Booklet with instructions for proper installation
- Zip ties
- Scotch-locks for wires connection
How to connect your GT Chip properly
Manufactures use different types of ECU, so procedure of installation varies depending of car model. The interactive scheme of this page will help to plug in the wires into the right places.
Find the diagnostic jack (OBD 2) in the vehicle (as a rule it is located near the legs of the driver).
Click on places, which have pins inside (and therefore can be connected).
Click the button “Show positions of GT Chip wires” and you will see, how to connect our device in the right way.